Making an invoice as a freelancer doesn’t require special training. You need a few key pieces of information, a clean format, and a tracking system. Here’s everything you need to create invoices that get paid on time.
Gather Your Information First
Before opening any template or tool, collect the details you’ll need. Start with your own information: business name (or just your name if you’re a sole proprietor), address, phone number, email, and website if you have one. For some industries, you may need a tax ID or business license number. Ask your client if they need this.
Next, collect client information: their full name or company name, address, and any reference information they use for payments (like a PO number or cost center). Some clients have specific invoicing requirements, so ask upfront what they need.
Finally, document the work you did: what services you provided, how long it took or the agreed price, and when you delivered it. Be specific. “Copywriting” is vague. “Website homepage copywriting (800 words)” is clear. This prevents disputes.
Choose Your Invoicing Method
You have three main options: a template (Word, Google Docs, Canva), a cloud invoicing tool (Wave, Square, Zoho), or dedicated invoicing software. For most freelancers, a free template or Wave is the right starting point.
Templates are fastest if you invoice occasionally. Cloud tools are better if you invoice regularly since they track payments and send reminders automatically. Stick with one option so all invoices have consistent formatting.
Set Up Your Invoice Structure
Your invoice needs these sections in order:
- Your business info at the top (name, address, phone, email)
- Invoice header with the word “INVOICE” clearly labeled
- Invoice number and dates (invoice date and due date)
- Client info with a “Bill To:” label
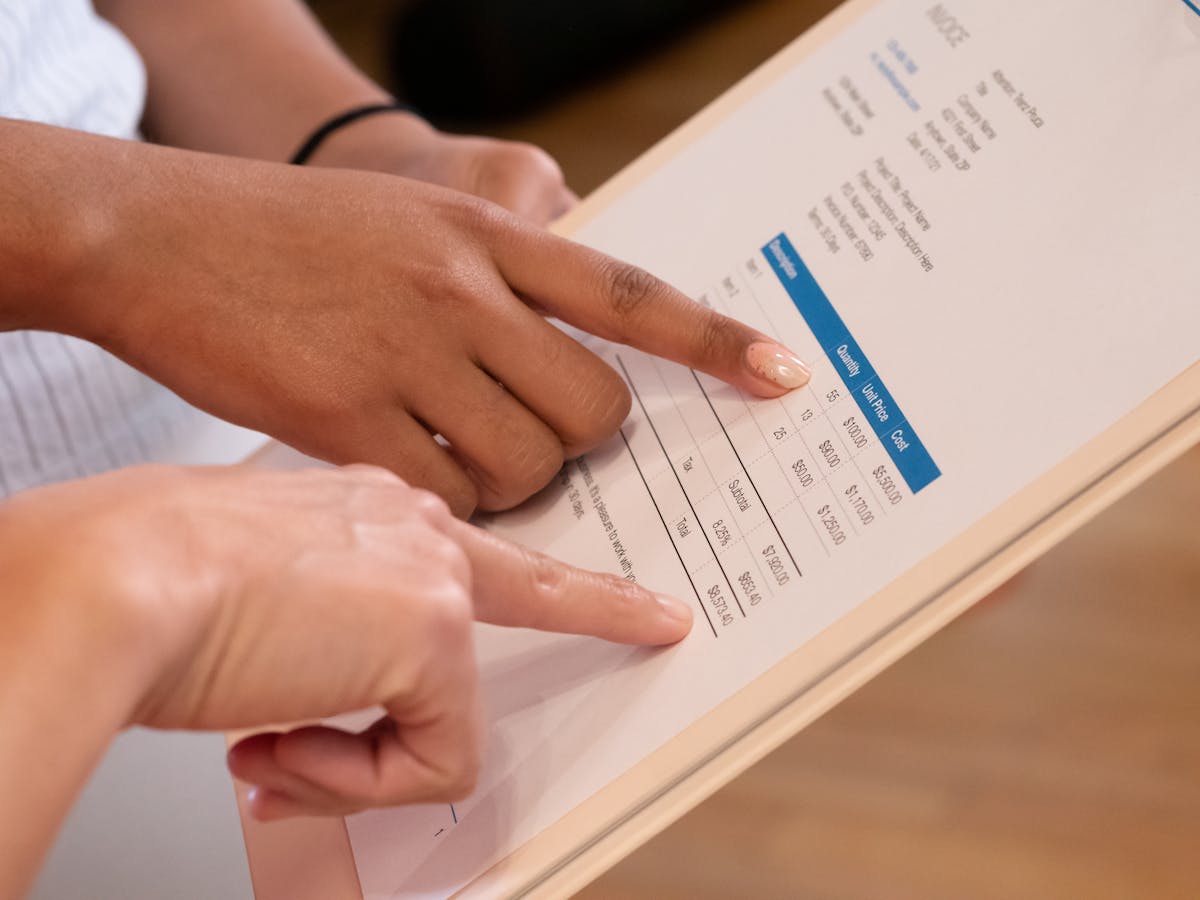
- Itemized services in a table with description, quantity/hours, rate, and amount
- Subtotal summing all services
- Tax if applicable in your area
- Total due in bold or highlighted
- Payment terms (“Net 15,” “Due upon receipt,” etc.)
- Payment methods (bank transfer, PayPal, check, etc.)
- Notes section for any special details
- Thank you message and signature or your name
This structure is standard across industries. Clients expect this layout, so follow it.

Fill in Your Details Carefully
Your invoice number should be unique. You can use sequential numbers (INV-001, INV-002) or date-based numbers (2026-05-001). Pick whichever makes sense for your business and stick with it. This creates a clear audit trail.
The invoice date is when you’re sending the bill, not when the work happened. The due date is typically 15-30 days after invoice date, unless you agreed otherwise. For retainer clients, due date might be a specific day of the month.
For client information, be as specific as possible. If the client is a business, include the company name and contact person. If they want invoices mailed somewhere different from their location, use the invoice address.
Describe Services Clearly
This is where precision matters. Instead of “Consulting,” write “Brand strategy consulting: 5 hours at $150/hour, delivered May 20, 2026.” Clients need to remember what they hired you for, and detail helps when they reconcile with their purchase order.
For fixed-price projects, show the project name and agreed price. For hourly work, show hours multiplied by your rate. For retainers, show the service period and monthly/weekly rate. Make the math transparent. If you worked 12 hours at $85/hour for $1,020, show all three numbers so clients can verify.
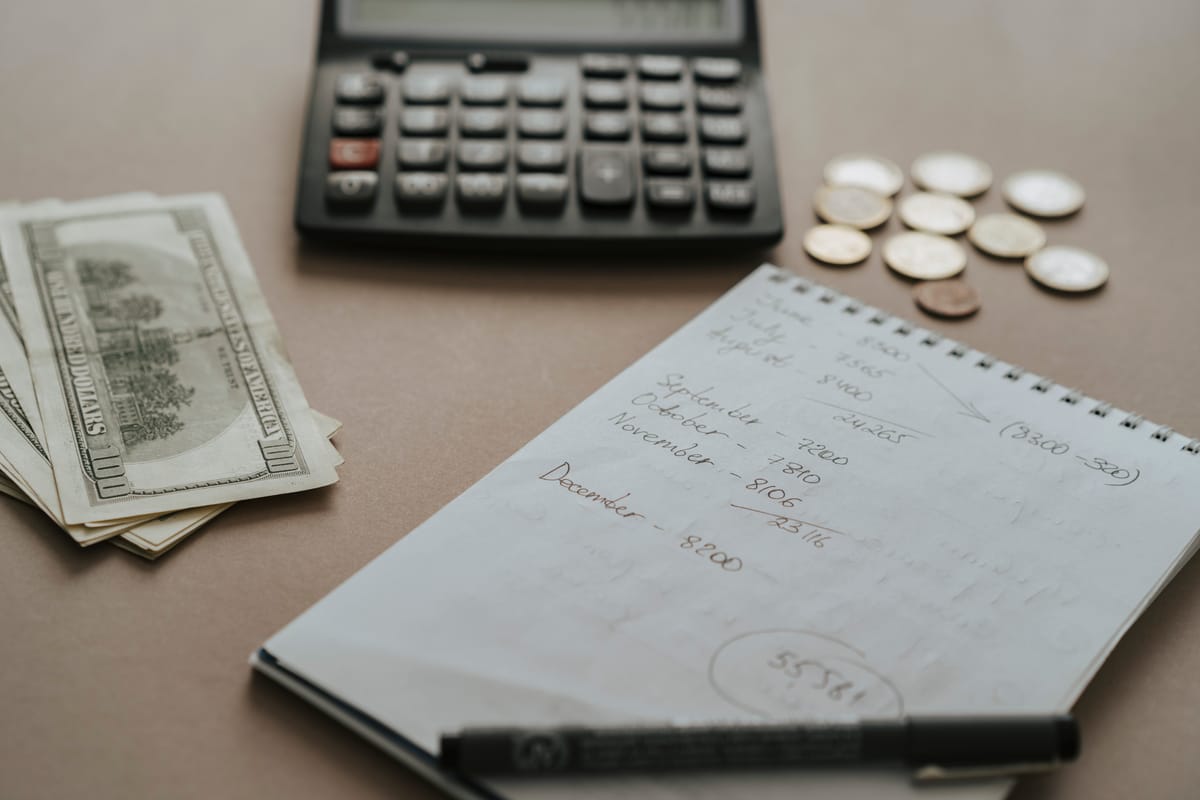
Calculate and Double-Check Everything
Use a calculator or spreadsheet to verify your math before sending. Multiply hours by rates, add all amounts to get the subtotal, and calculate tax if needed. Math errors delay payment and hurt your professionalism.
If you’re using a template with formulas (Excel or Google Sheets), math is automatic. If you’re using Google Docs or Word, calculate manually and type amounts in. Either way, verify the total before sending.
Add Payment Instructions
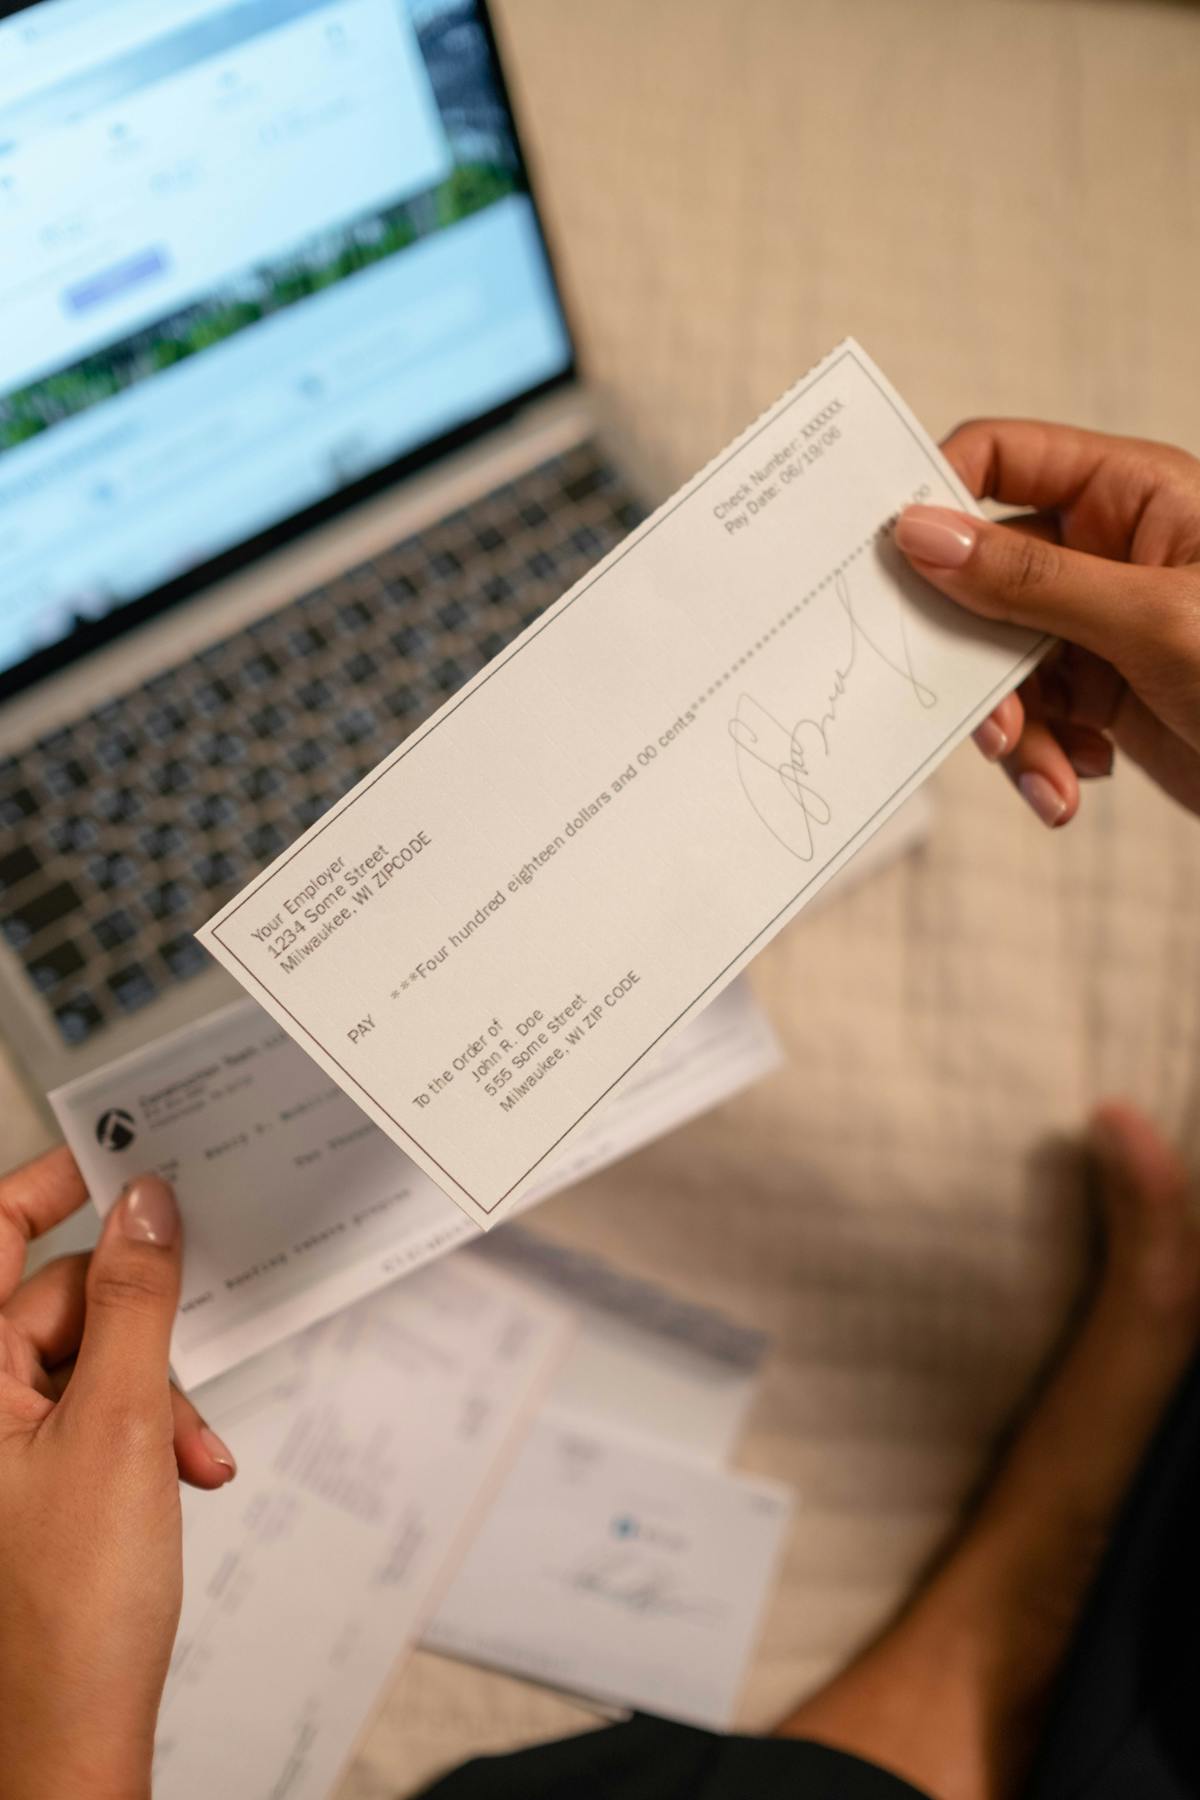
Make paying you easy. List every payment method you accept. For bank transfer, provide account holder name, bank name, account number, and routing number. For PayPal, include your email. For credit card, include a payment link if you offer it. For checks, include your mailing address.
Your payment terms should match your client agreement. “Net 15” is standard. “Net 30” is common for larger companies. “Due upon receipt” is fine if you want immediate payment. Include a note if you offer early payment discounts (“2% discount if paid within 5 days”) or charge late fees.
Send and Track
Save the final invoice as a PDF before sending. This preserves formatting and prevents accidental edits. Email it to your client with a brief message: “Hi [Client Name], Please find attached invoice INV-001 for [project name]. Payment is due by [due date]. Thank you for the opportunity to work with you.”
Keep a copy of every invoice. If you’re using Wave or Square, they automatically store invoices. If you’re using templates, save them in a folder labeled “Invoices - Sent - 2026.” When payment arrives, mark it as paid in your records.
If an invoice is unpaid more than 5 days past due, send a friendly reminder. Reference the invoice number and amount. Keep your tone professional and helpful, not accusatory. Most late payments are oversights.
Tools That Make This Easier
Wave automates payment tracking and reminders. Square does too. Waco3 also offers invoicing integrated with proposal and payment tracking so you see the full client journey from proposal through invoice to paid. As you grow, these tools save hours each month by removing manual follow-up.
For now, focus on getting invoices out consistently and tracking when they’re paid. Once you have a process that works, you can optimize it.
Related: See simple invoice template for freelancers for minimalist formats that work even faster.
Ready to send stronger proposals?
Build, send, and track proposals in one place so follow-up is easier.
Start your free trial →