A well-formatted invoice is the foundation of timely payment. When clients understand what they owe, when it’s due, and how to pay, confusion disappears. Here’s a complete invoice format example.
The Header Section
Your invoice starts with your business name and contact details. Use a larger, bold font for your business name, then include phone, email, and address below. Add a small logo in the top corner if you have one.
The header tells clients immediately who they’re doing business with and how to reach you. Keep it clean: one to two inches of space is enough.
Invoice Number and Date
Add “INVOICE” as a label, then your invoice number next to it. Start at 001 and increment with each invoice.
Below that, add the date you created the invoice in a consistent format like “May 28, 2026” or “2026-05-28.” This date is your reference point for payment deadlines.
Bill To Section
Create a clear “Bill To” section with space for client name, company, and address. Your client’s accounting department uses this section to confirm they’re paying the right vendor for the right amount.
Use consistent spacing and formatting across every invoice.

The Line Items Table
Create a table with columns for Item/Description, Quantity, Unit Rate, and Amount. Each row represents one service or product.
Be specific in descriptions. Instead of “Design Work,” write “Website Header Design” or “Logo Revision Round 2.” Specificity prevents confusion.
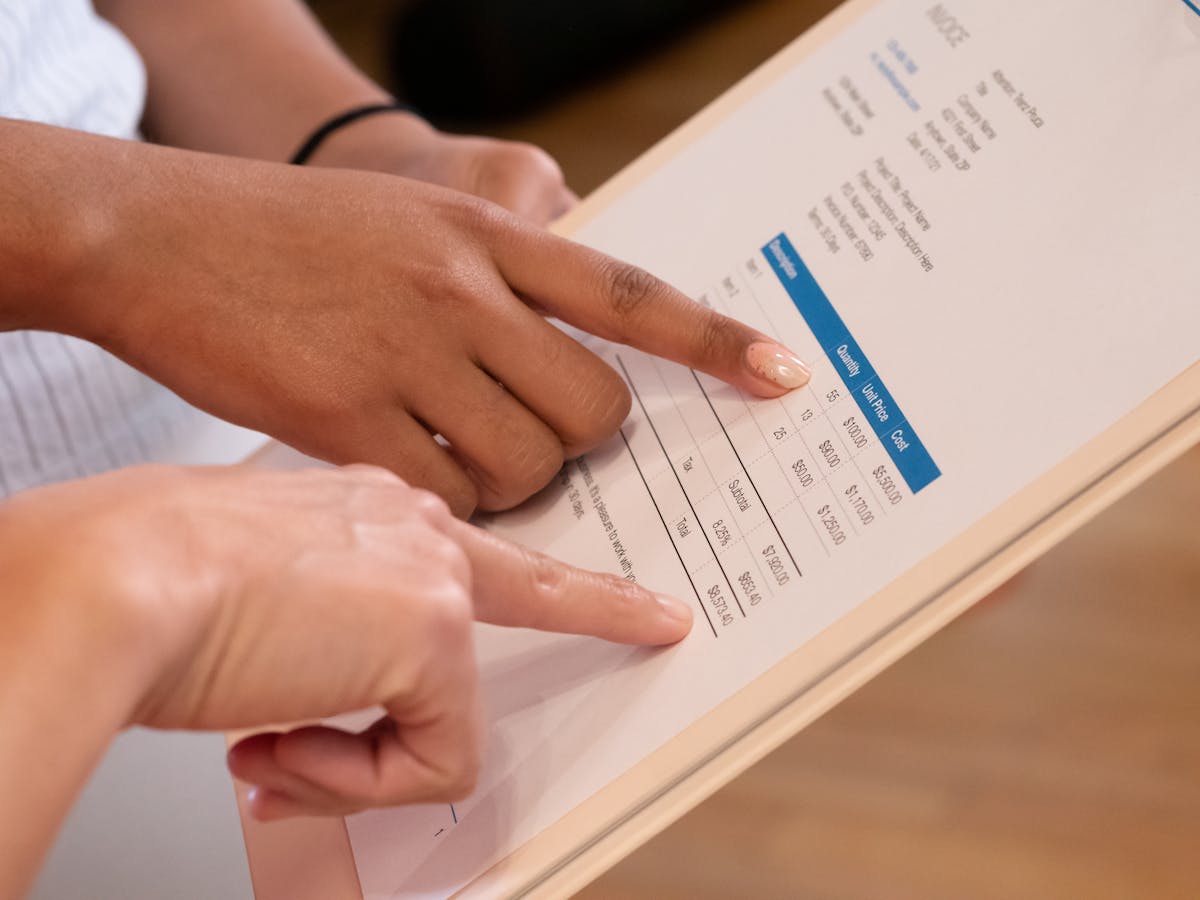
Subtotal and Tax Lines
Below the table, add a Subtotal row. Add a separate Tax row if you need to charge sales tax. Then add a final Total row in bold, larger font, or with a light background color.
The totals section is where clients’ eyes go. Make it unmistakable.
Payment Terms
Add a line that says “Payment Terms” or “Due Date.” Specify when payment is due. Common options include “Due upon receipt,” “Net 15,” or “Net 30.”
Payment terms set clear expectations. Without them, clients might assume they have 60 or 90 days.
Payment Instructions
Below payment terms, create a “Payment Methods” section listing how clients can pay. Include options like bank transfer, credit card, PayPal, or check mailing address.
Multiple payment options speed up payment.
Professional invoice format reduces payment delays by making the total due, payment date, and payment methods immediately obvious.
Spacing and Readability
Use consistent margins throughout. One-inch margins on all sides is standard. Use readable fonts like Arial, Calibri, or Times New Roman in 11 or 12-point size.
Double-check alignment. Everything should be consistently left-aligned, right-aligned, or centered. Tables should have clear borders so columns don’t run together.
Digital Format Considerations
Save your invoices as PDF before sending. PDFs can’t be accidentally edited and look the same on every device. In Word, use File > Export as PDF. In Google Docs, use File > Download > PDF Document.
A well-formatted invoice demonstrates professionalism and prevents confusion. Follow this structure: header with your info, invoice number and date, Bill To section, line items table, subtotal and totals, payment terms, and payment instructions. Use clear fonts and consistent alignment. When clients see a polished invoice, they pay promptly.
Ready to send stronger proposals?
Build, send, and track proposals in one place so follow-up is easier.
Start your free trial →