Creating an invoice for services rendered doesn’t require complex accounting software. A Word template gives you professional formatting, legal compliance, and control over your branding. Whether you’re a freelancer, consultant, or service provider, the right template saves time and clarity for your clients.
Why Word Templates Beat Starting From Scratch
Building an invoice from a blank Word document takes time and risks mistakes. A template provides structure, reduces billing errors, and keeps your invoices consistent. Clients respond better to professional invoicing, which signals reliability and leads to faster payments. Word remains accessible: no software subscription required, and every client can open your files.
Essential Elements Your Template Must Include
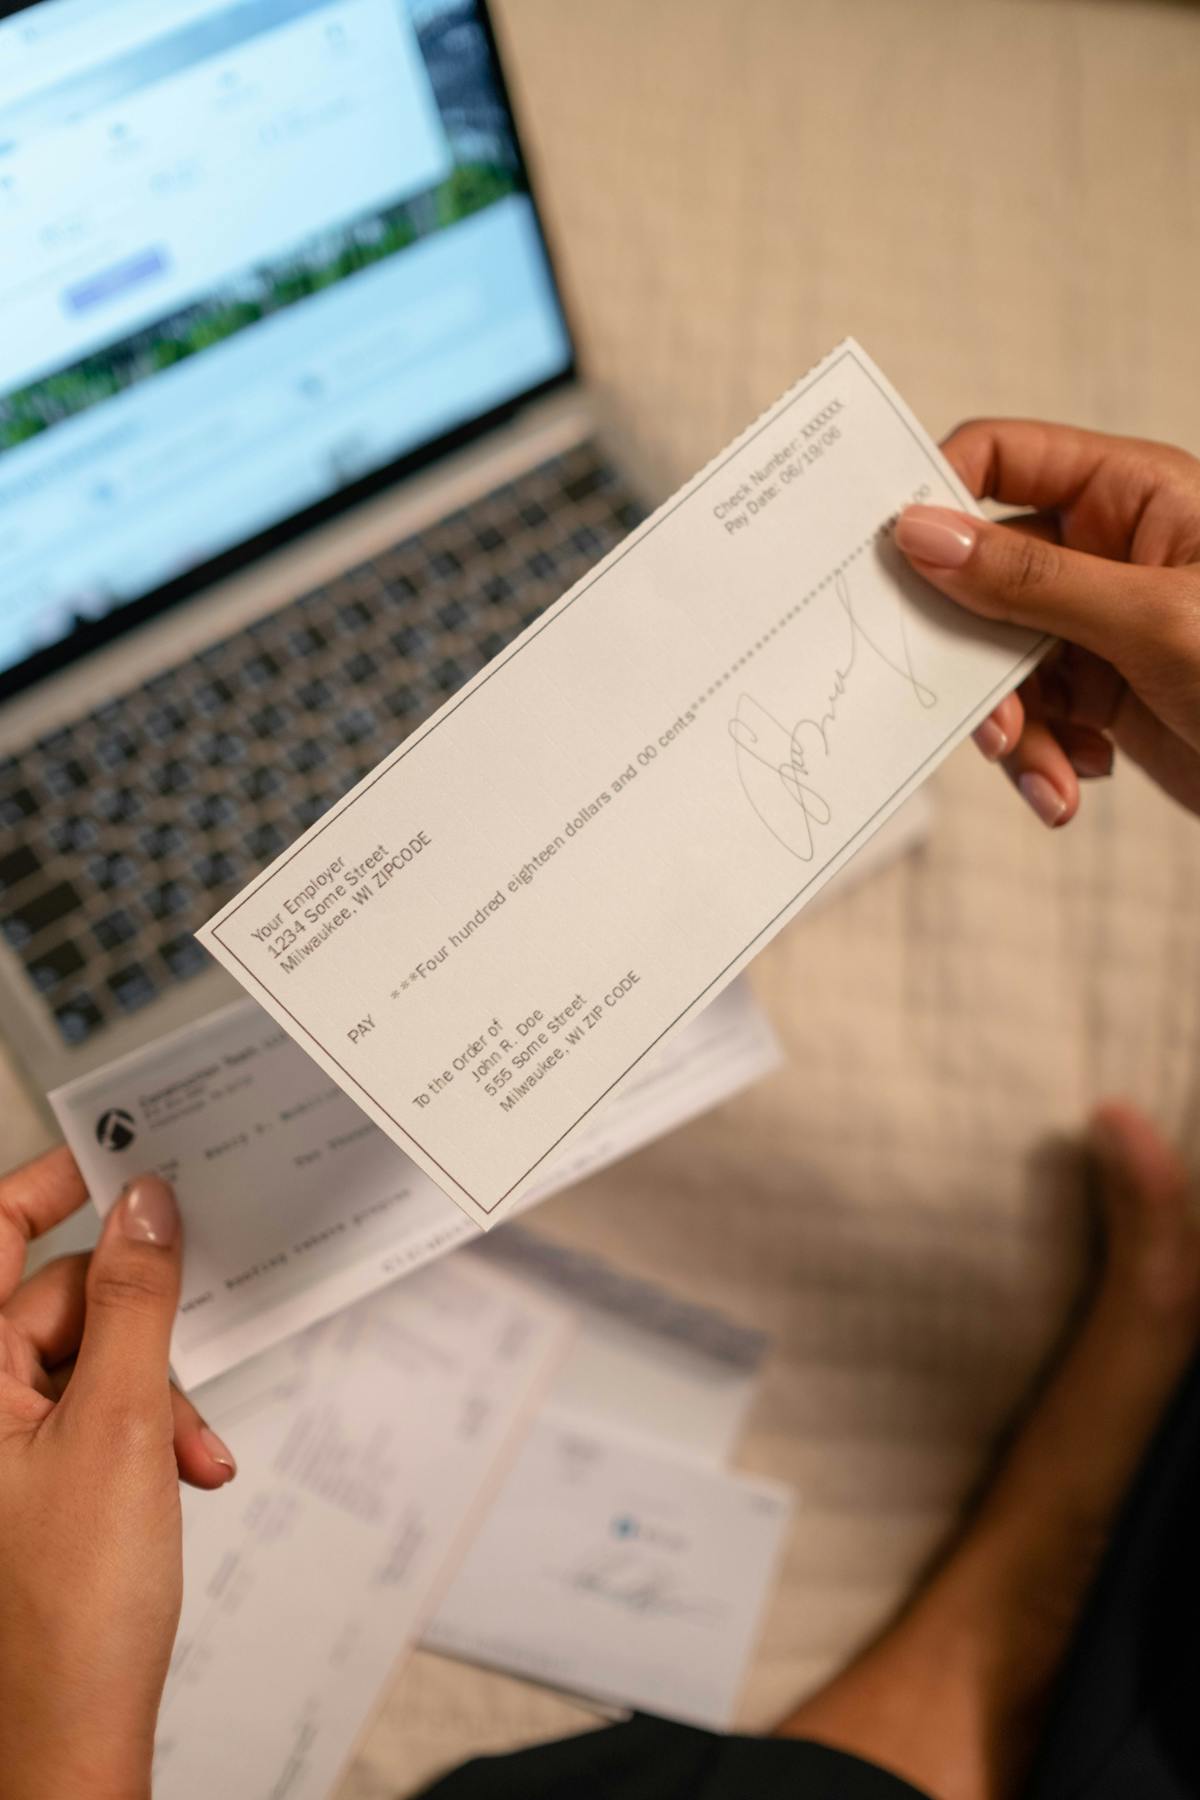
Your services rendered invoice needs key sections: your business name and contact details at the top, a unique invoice number for tracking, and the date issued. Add the client’s full name and address, a clear “Services Rendered” or “Description of Services” section with dates, rates, and totals. Include your payment terms (net 30, due upon receipt, etc.), accepted payment methods, and where to send payment. Add a subtotal, tax calculation if you’re registered, and the final amount due. Many templates include a notes section for payment instructions or thank-you messages.
Customizing Your Word Template
Download a basic template from Microsoft Office or create your own from scratch. Open it in Word and replace placeholder text with your business details. Adjust fonts and colors to match your brand. Use a clean sans-serif font like Calibri or Arial for readability. Ensure sufficient white space so the invoice doesn’t feel cramped. Test the template by filling it out with sample data, then save it as a master copy. Each time you need an invoice, open the saved template and immediately save it as a new file using the invoice number as the filename. This prevents accidentally overwriting your master.
Store your master template in a dedicated folder. Always save new invoices with unique filenames. This protects your template from accidental overwrites.
Setting Up Payment Terms and Late Fees
Clearly state your payment due date. “Net 30” means payment is due 30 days after the invoice date. “Due upon receipt” means immediately. Include a late payment policy if you charge interest, but verify local regulations allow it. Some freelancers add a 1.5% monthly fee on overdue balances. Make this visible on your template so clients see it upfront. Transparent payment expectations reduce disputes and improve cash flow.
Tracking and Organization Tips
Use a consistent naming system: “Invoice-001-ClientName-2026-05-28.docx”. This makes searching easy and creates an audit trail. Organize files by month or client for quick retrieval. Beyond 20 monthly invoices, dedicated accounting software makes sense. Tools like Waco3 automate creation, track payment status, and send automatic reminders when invoices near their due date. This approach saves hours every month.
Avoiding Common Invoice Mistakes
Include your tax ID if you operate as an LLC or corporation. Always specify a payment due date. Clearly separate services rendered from the total amount owed. Use specific descriptions: “website design, 8 hours at $75/hour” instead of vague “work.” Double-check the math—errors damage trust. Use sequential invoice numbers so nothing gets lost in accounting.
Ready to send stronger proposals?
Build, send, and track proposals in one place so follow-up is easier.
Start your free trial →