An invoice for services rendered in Word doesn’t need to be complicated. Whether you’re billing for consulting, freelance work, or contract labor, a clean template in Word lets you track what you did, how much to charge, and when you need payment. Here’s how to build one that looks professional and works for your clients.
Set Up Your Document Structure
Open a blank Word document and create a table for the core layout. Most invoices have three main sections: a header at the top for your business information, a middle section for itemized services, and a footer for payment details. Start with a simple two-column or three-column table depending on what you’re charging for.
Your header section should include your name or business name, address, phone, and email. Make this stand out with bold text or a slightly larger font size. Leave white space below before adding client details (their name, company, and address).
Keep margins at least one inch on all sides. This gives readers space to scan without feeling cramped. Use a standard font like Calibri, Arial, or Times New Roman at 11 or 12 points for body text, and 14-16pt for your business name and the word “INVOICE” at the top. Pick one or two fonts and stick with them throughout.
Add Invoice Details and Line Items
Below the client information, add a small metadata section with an invoice number (e.g., INV-001 or 2026-05-28-001), the issue date, and the due date. This helps both you and your client reference the invoice later. Set the due date 15-30 days out unless you’ve agreed otherwise.
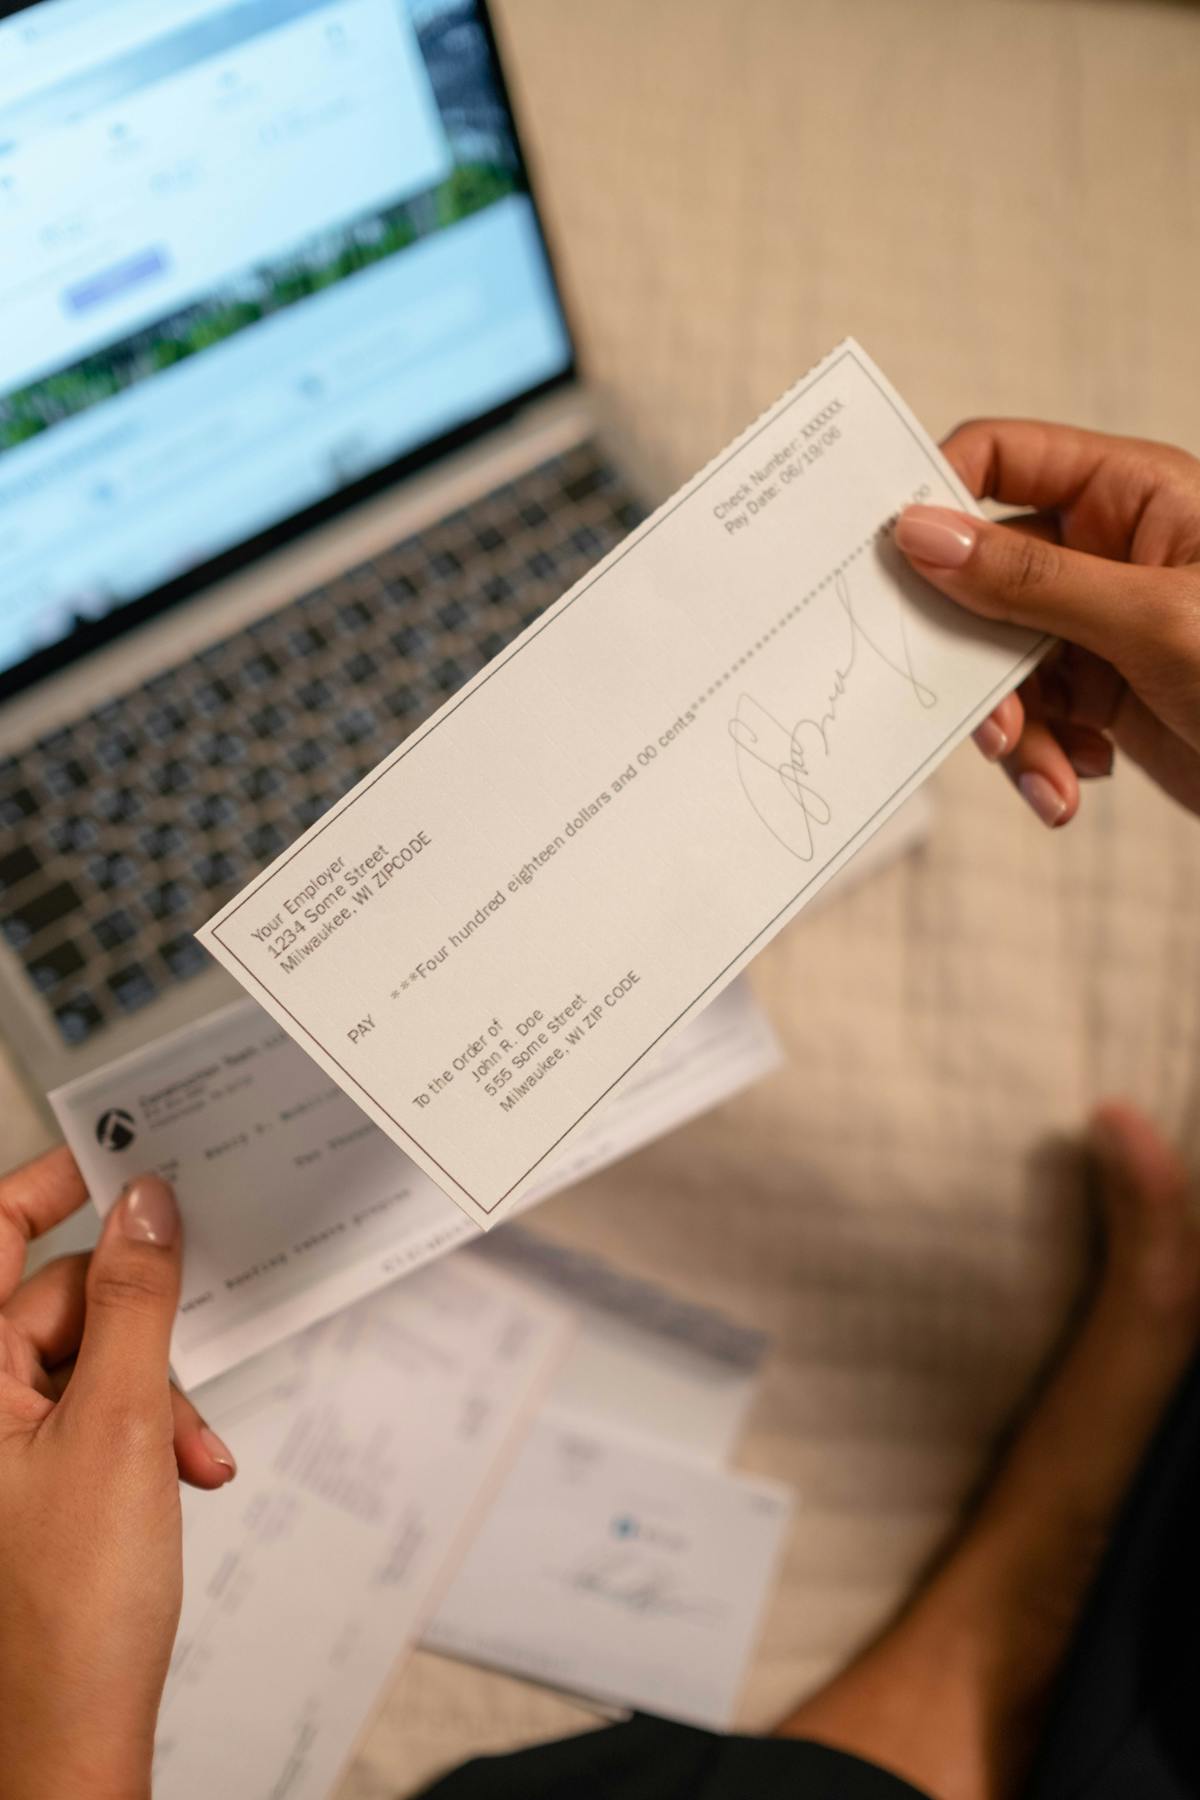
Create a main table for services with columns for “Description,” “Hours/Quantity,” “Rate,” and “Amount.” List each service on its own row. For example: “Copywriting for website homepage” or “Project management for Q2 campaign.” Be specific so your client knows exactly what they’re paying for. If you worked 10 hours on consulting at $75/hour, show that math clearly. Transparency reduces payment disputes.

Calculate Totals and Format Payment Terms
After your itemized list, add a subtotal row. Add a tax row next if sales tax applies in your area. Then show the final total due in bold or with a highlighted background. Some freelancers add a “Deposit Already Paid” row if the client gave an advance. Make the total stand out so there’s no confusion.
Below the numbers, include your payment terms and methods. Write “Net 15” (payment due in 15 days) or “Due upon receipt.” List your payment options: bank transfer, PayPal, Stripe, check, or credit card. If you offer a discount for early payment, mention it. For example: “2% discount if paid within 5 days.”
Use consistent formatting and clear language so your client can find the total due and payment instructions without hunting through the document.
Polish and Save Your Template
Once your invoice is laid out, save it as a template for future use. Go to File > Save As and choose “Word Template.” Name it “Invoice Template - Services Rendered.” Now you can create new invoices by opening this template, updating the client name, dates, and services, then saving each as a regular document with the invoice number in the filename.
Add a professional touch with a simple header or footer containing your website or phone number. Some freelancers add a brief thank-you message at the bottom: “Thank you for your business” or “We appreciate working with you.” This builds goodwill and keeps the tone warm.
Test your template by printing a sample or exporting to PDF. Check that tables align correctly, numbers are readable, and nothing cuts off at the edges. Clean invoices get paid faster. Always save the final version as a PDF before sending to preserve formatting across devices.
Related: If you’re sending lots of invoices, explore how to make an invoice as a freelancer for faster workflow strategies.
Ready to send stronger proposals?
Build, send, and track proposals in one place so follow-up is easier.
Start your free trial →