Creating your first freelance invoice is intimidating until you realize it’s just a formatted list of work and what you’re owed. Every successful freelancer starts simple and improves over time. You can build one in 15 minutes with free tools, and it’ll last for years.
Gather Your Information
Before opening any software, collect what you’ll need. Your full name or business name, address, phone, and email. Client name, company, and address. The invoice date, services provided, hours or fixed price, and total owed.
Write it down or keep it in a text file. Having this ready speeds creation and prevents errors.
Start With a Template, Not a Blank Page
Don’t design from scratch. Google Docs, Word, Canva, and Zoho all have free templates. Pick one that matches your style. Creative freelancers might prefer design-forward layouts. Consultants might choose minimal designs.
Save it as “Invoice-Template-2026.docx.” This becomes your foundation for all future invoices.
Add Your Business Information
At the top, add your business name or brand. Include your name, email, phone, and address. Some add websites or social media.
This section goes upper left or centered. Make it clear. Clients should identify you instantly.

Add Client Information
Below your info or on the right, add client details: company name, contact, address, and email. Label it “Bill To” or “Client.”
Accuracy matters for their records and payment follow-ups.
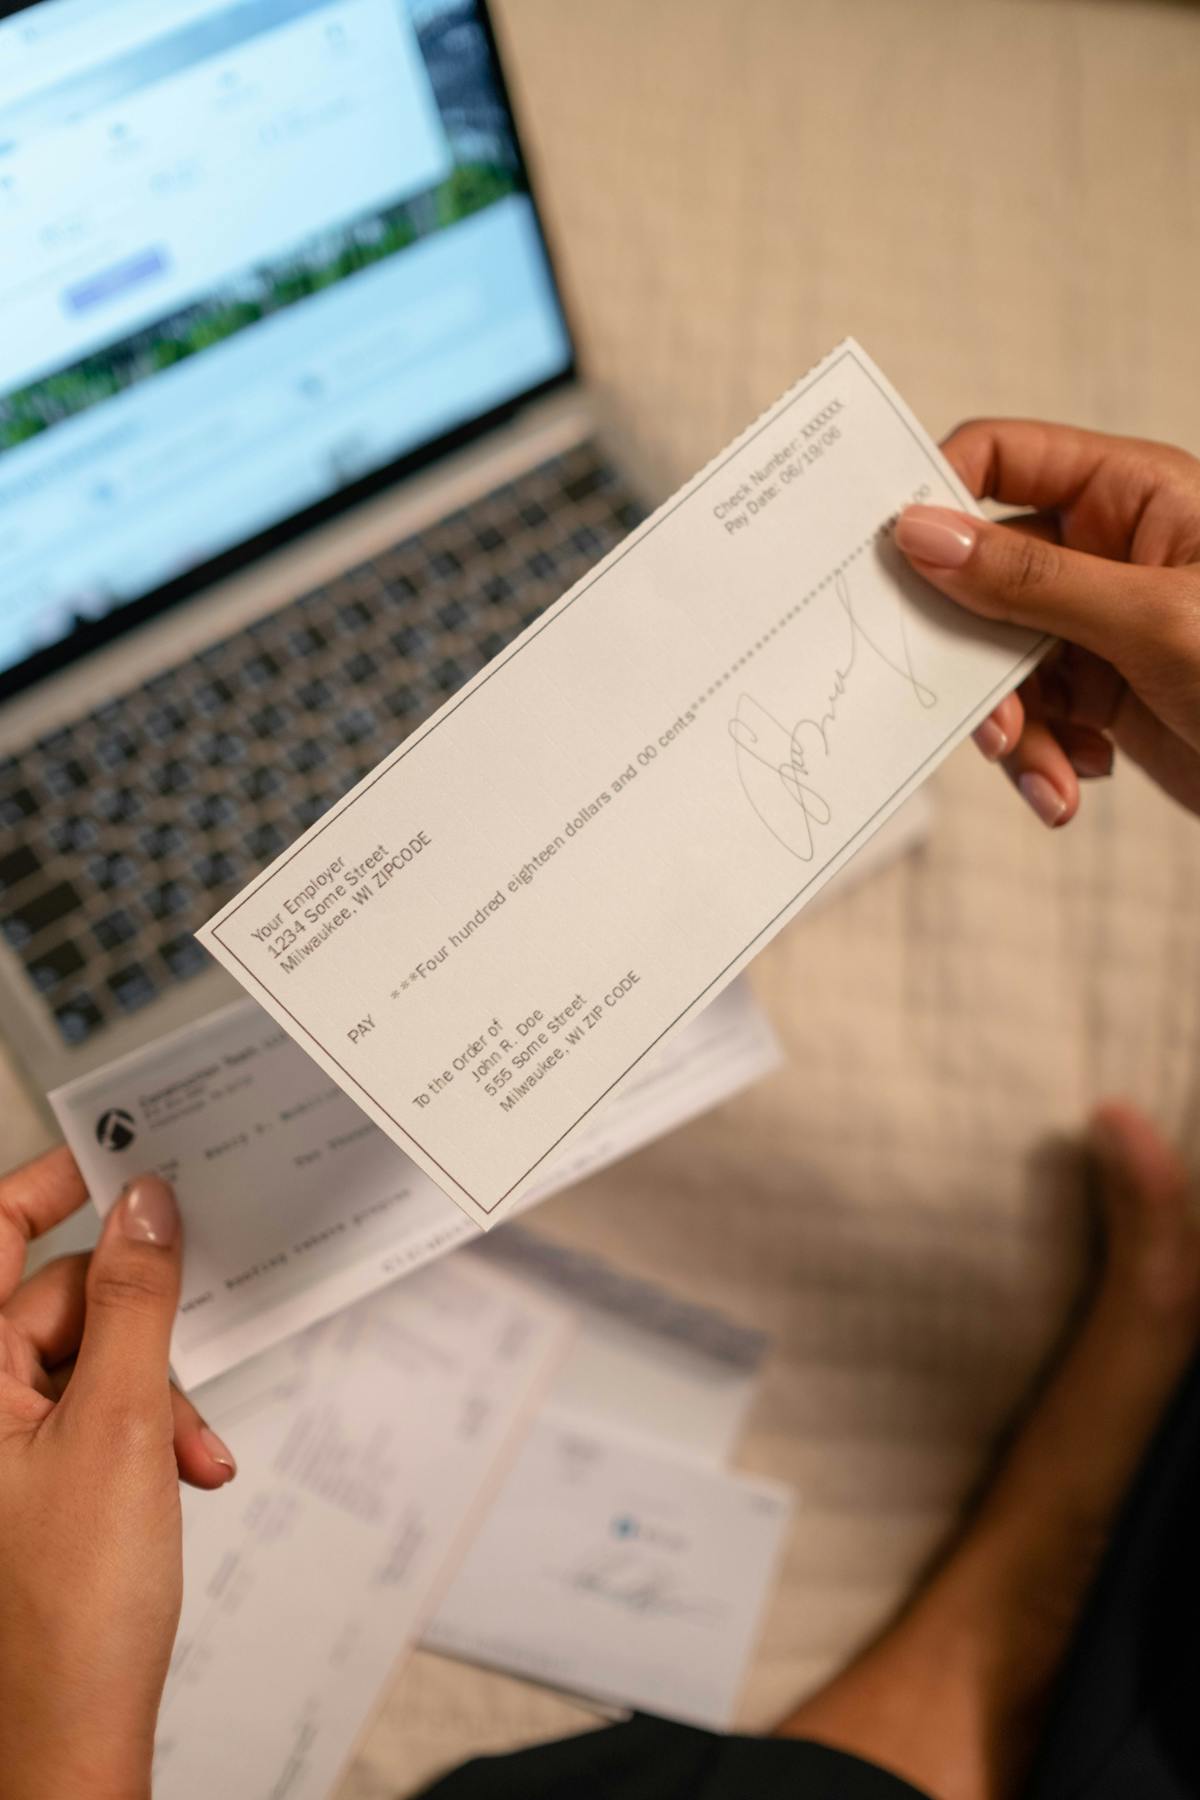
Create the Itemized Section
This is the heart of your invoice. Create a table with columns: description, quantity, rate, and total. Be specific. Don’t write “services.” Write “website design consultation, 3 hours” or “copywriting for homepage, 500 words.”
Add quantity (hours, items) and rate (hourly or per-item). Multiply them for the total. 10 hours at $50/hour = $500.
List phases or deliverables separately. This clarity prevents disputes.
Calculate and Add Totals
Sum line items for a subtotal. Add taxes or fees below. Check your local laws on sales tax. Apply discounts here.
Make the final total bold and prominent. Clients focus on this number.
Add Payment Terms and Due Date
State when payment is due: “Due on receipt,” “Net 15,” or a specific date. A specific date is clearer than net terms.
Below, add payment methods. List all options: bank transfer, PayPal, Stripe, checks. Share account info only if comfortable. Many use payment links instead.
Clarity on payment terms and methods cuts payment delays in half. Clients default to inaction unless you tell them exactly how and when to pay.
Add Notes and Legal Language (Optional)
Below payment info, add optional notes like “Thank you for your business.” Some invoices include late fee language: “Late payment will accrue interest at [X]% per month.” Check local laws first.
Keep it brief. Clients are here to pay, not read essays.
Number Your Invoice
Create a unique number. Start with 001 and increment each time. Use a prefix like “LV-2026-001” (initials, year, sequence) or “2026-001” (year and sequence).
Track it in a spreadsheet to avoid duplicates. You’ll reference it during payment follow-ups.
Save as a PDF Before Sending
When done, export as PDF. PDF preserves formatting and prevents changes. In Google Docs: “File > Download > PDF Document.” In Word: “File > Save As > PDF.”
Use a clear name: “Invoice-2024-001-ClientName.pdf” helps you find it later.
Customize Your Template
After your first invoice, tweak the template. Reorder sections, change colors, whatever feels right. Save changes to your template so they apply to future invoices.
Evolving templates look more professional as your brand grows.
Digital Signature (Optional)
Some invoices include a signature line. Print, sign, scan, or use a digital tool. For most freelancers, it’s optional unless contracts require it.
Many clients accept unsigned invoices. Check with your client base.
Tools to Consider as You Grow
For weekly invoicing or more, consider Waco3, which automates and tracks opens and payments. This saves time and shows you cash flow.
For now, a good template in Word or Google Docs works. Master the basics first, then upgrade once you find your rhythm.
Related: What a Professional Freelancer Invoice Looks Like shows real examples of effective invoice layouts.
Ready to send stronger proposals?
Build, send, and track proposals in one place so follow-up is easier.
Start your free trial →