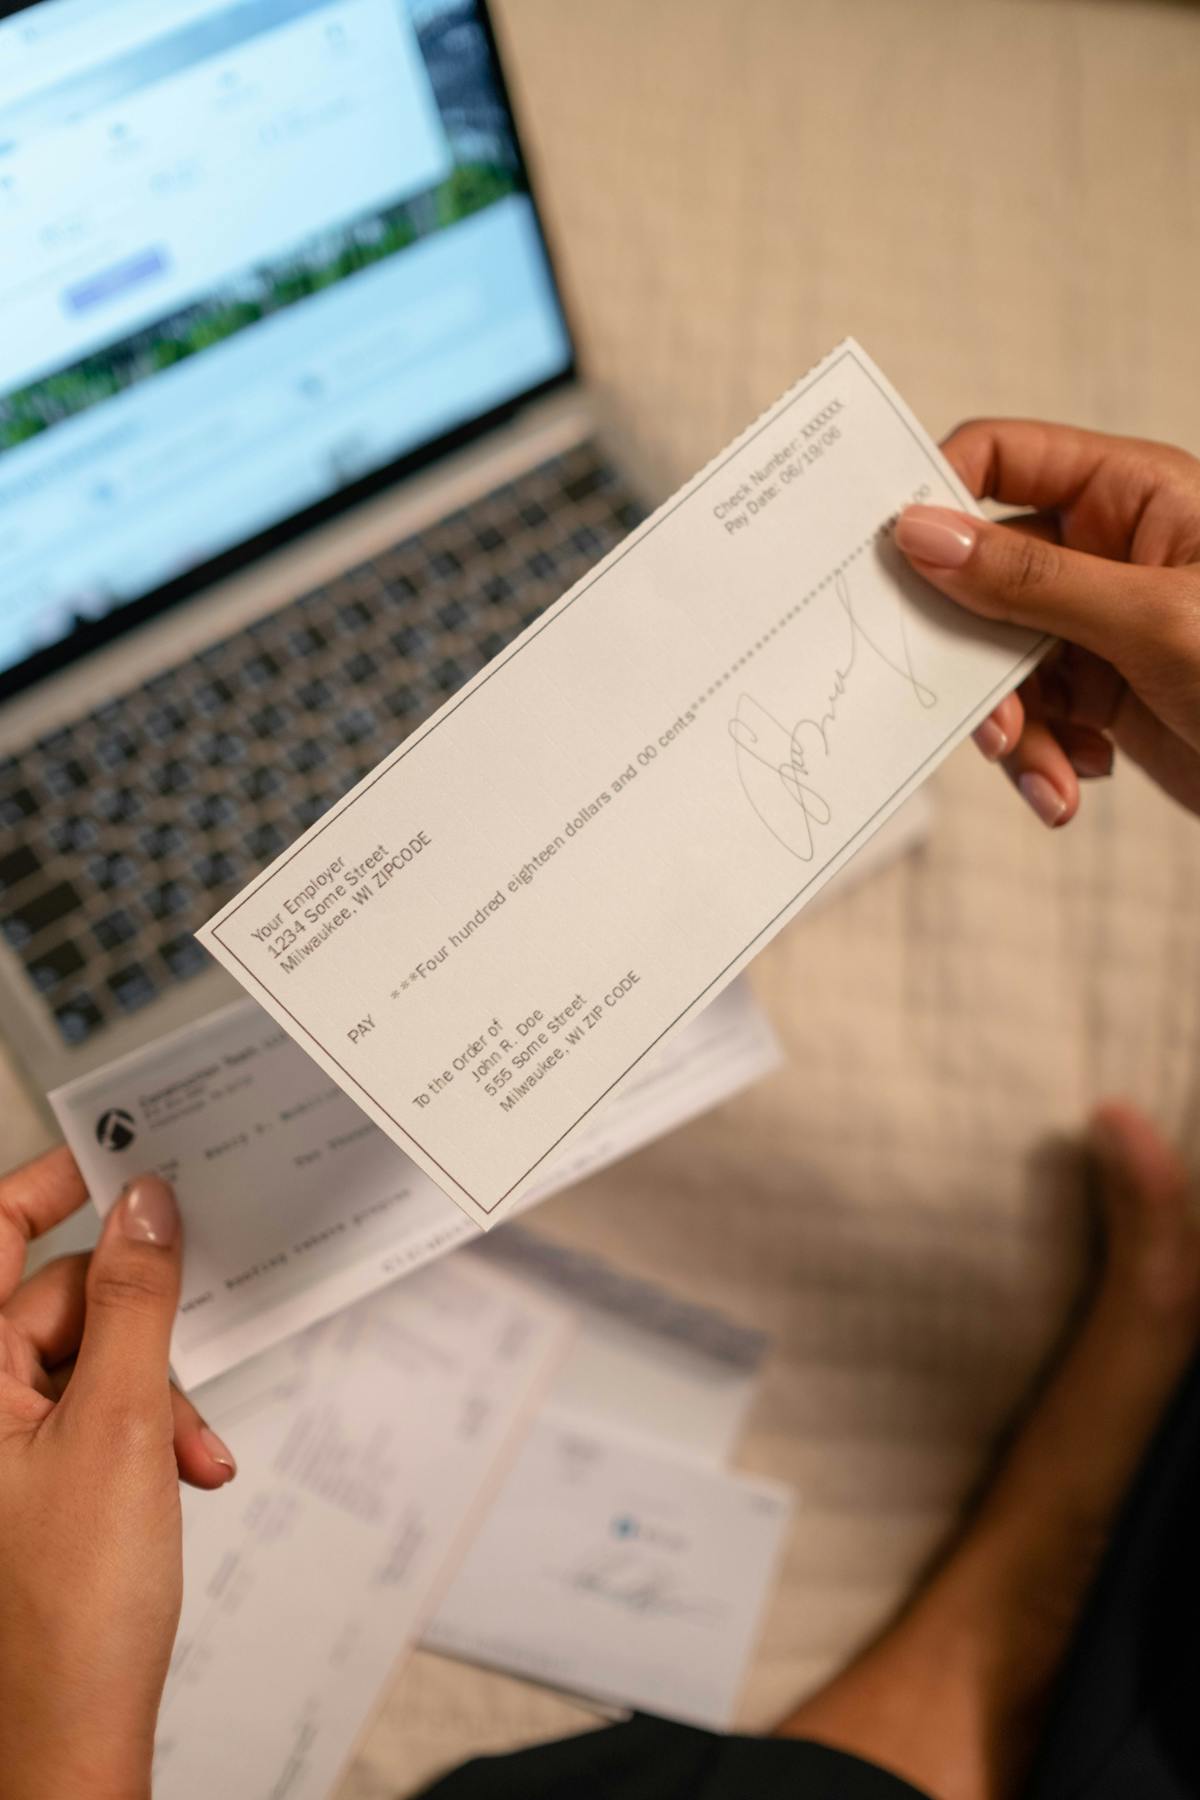
Writing a freelance invoice isn’t complicated, but doing it wrong costs you money. Vague line items trigger questions that delay payment. Missing fields send the invoice back to you. The wrong payment terms extend your cash flow gap by weeks. This guide walks through every field, every decision, and every mistake worth avoiding.
Before you write the invoice: clarify payment terms upfront
The invoice is the last step in a process that should start before the project begins. If you haven’t agreed on payment terms before work starts, you’re negotiating from a weak position by the time the invoice arrives.
Establish these things in your contract or project agreement:
- Rate and billing structure: Hourly, flat-rate per project, or milestone-based?
- Payment schedule: Deposit plus balance? Monthly billing? Upon delivery?
- Due date: Net 15, Net 30, or due upon receipt?
- Late fees: Will you charge interest on late payments? At what rate?
- Preferred payment method: Bank transfer, PayPal, check?
When these are settled upfront, the invoice is just a formality. When they’re not settled, the invoice becomes a negotiation — which slows everything down.
Step 1: Your contact information
Put this at the top of every invoice. Accounting departments need to know who sent the bill.
Include:
- Your full name or business name (exactly as it appears on your bank account, for payment matching)
- Your address (or city/state if you prefer not to share your full address)
- Your email address
- Your phone number
- Your logo if you have one — it adds professionalism and visual clarity
If you’re registered as an LLC or corporation, use your legal business name. If you’re a sole proprietor, your personal name is fine.
Step 2: Client contact information
Don’t address the invoice to your day-to-day contact unless they’re also the person who processes payments. For anything beyond a micro-business, there’s usually an accounts payable contact — find out who that is and address the invoice to them.
Include:
- Client’s full business name
- Billing contact name (the person who approves payments)
- Billing address
- Client email address
Getting this wrong is one of the most common reasons invoices get delayed. The invoice arrives, your contact has no authority to approve it, it gets forwarded, and two weeks disappear.
Step 3: Invoice number
Every invoice needs a unique identifier. This isn’t optional. Invoice numbers let you:
- Track which invoices are paid and which aren’t
- Reference specific invoices in follow-up emails (“RE: Invoice #INV-042”)
- Organize your records for tax time
- Meet client accounting requirements (some companies literally won’t process a numberless invoice)
Formats that work:
- Sequential: INV-001, INV-002, INV-003
- Date-based: INV-20260514
- Client-based: ACME-001, ACME-002 (useful if you bill multiple clients regularly)
Pick a system and stick with it. Consistency matters more than format.
Step 4: Invoice date and due date
Invoice date: The date you’re sending the invoice. This anchors the payment timeline.
Due date: The date payment is expected. Always write the actual calendar date, not just “Net 15.” A client sees “Due: May 29, 2026” and knows exactly what they’re working with. “Net 15” requires them to calculate it, and some won’t bother.
Payment terms and what they mean:
- Due upon receipt: Payment expected immediately. Rarely honored in practice unless you’re collecting at delivery.
- Net 7: Seven days from invoice date. Good for small projects with established clients.
- Net 15: Fifteen days. The best balance for most freelance work — fast enough to manage cash flow, standard enough that clients don’t push back.
- Net 30: Thirty days. Common for corporate clients. Acceptable for large projects. A cash flow problem for smaller freelancers.
- Net 60 / Net 90: Enterprise territory. Negotiate hard to avoid these.
Net 15 is the freelancer’s default. It keeps money moving, and clients rarely object to it. If a new client insists on Net 30 or Net 60 without a good reason, treat that as a signal to require a larger deposit upfront or to factor the delay into your rate.
Step 5: Line items — the most important part
Line items are where invoices succeed or fail. Write them clearly and you get paid faster. Write them vaguely and you get questions, reviews, and delays.
Each line item has four components:
1. Description Be specific. Reference the deliverable, the time period, the scope, whatever makes it unambiguous.
- Good: “Email marketing campaign — 3 emails (welcome, nurture, conversion). Written, edited, and delivered May 1–10, 2026.”
- Too vague: “Copywriting services.”
- Too long: A paragraph. Line items should be a sentence or two at most.
2. Quantity or Hours How many units or hours you’re billing. For hourly work, list the hours. For project-based work, quantity is often 1 (one project, one deliverable, one month of retainer).
3. Rate Your per-unit or hourly rate.
4. Line total Quantity × Rate. Always calculate it for the client. Don’t make them do arithmetic.
If you have multiple services in one project, use separate line items for each. It shows the breakdown and makes disputes easier to resolve if questions arise.
Example line items:
| Description | Qty | Rate | Total |
|---|---|---|---|
| Brand strategy — discovery, competitive analysis, positioning framework | 1 | $2,400 | $2,400 |
| Logo design — 3 concepts, 2 revision rounds, final files | 1 | $1,800 | $1,800 |
| Brand guidelines document | 1 | $600 | $600 |
Step 6: Subtotal, taxes, and total
Subtotal: The sum of all line items before tax.
Tax: Add only if required. In the US, most freelance services are not subject to sales tax, but digital products and some services in certain states are. Check your state’s rules and consult an accountant if unsure. If you collect tax, include your sales tax registration number and the applicable rate.
Total due: The number in bold. Make it obvious. Don’t bury it.
Step 7: Payment methods
List every method you accept. The fewer steps between the client’s decision to pay and an actual payment arriving, the better.
Common options for freelancers:
- Bank transfer (ACH): Include your routing and account number. Low cost, takes 1–3 business days. Best for US clients.
- Wire transfer: For larger amounts or international clients. Client usually pays the fee.
- PayPal: Fast, familiar. 2.9% + $0.30 per transaction. Works internationally.
- Stripe / payment link: Send a link the client can click to pay with a card. Professional, trackable.
- Check: Still common with some small businesses and older clients. Slow, but no fees.
- Venmo / Zelle: Fine for small amounts, less professional for project work.
If you use invoicing software, you can often add a “Pay Now” button that takes the client directly to a payment form. This alone can cut your average payment time by days.
Step 8: Late payment policy
Add a line about late fees. Keep it short and factual:
“A 1.5% monthly fee (18% APR) applies to balances not paid within 30 days of the due date.”
You may never enforce it. But having it written on the invoice — not buried in a contract they signed months ago — creates a clear reminder that late payment has a cost. It accelerates payment from clients who might otherwise let invoices slip.
What to write in the invoice email
The invoice goes as a PDF attachment. The email is brief:
Subject: Invoice #INV-042 — [Project Name] — Due [Date]
Body: Hi [Name],
Please find attached Invoice #INV-042 for [brief project description], totaling $[X], due [date].
You can pay via [list payment methods]. Let me know if you have any questions.
Thank you, [Your name]
That’s it. The invoice has all the detail. The email is just the delivery vehicle.
Tools for writing freelance invoices
Free options:
- Wave (free invoicing software with payment processing)
- Invoice Ninja (free tier, open-source)
- Google Docs or Word template (download, fill in, export as PDF)
Paid options:
- FreshBooks (invoicing + time tracking + accounting)
- QuickBooks Self-Employed
- AND.CO / HoneyBook (freelancer-specific, includes contracts)
- Waco (proposals + invoices integrated — clients can approve and pay from one link)
If you send more than 5 invoices a month, software pays for itself in time saved and follow-up automation.
The complete invoice checklist
Before you send, confirm:
- Your name/business name and contact info
- Client name, billing contact, billing address
- Unique invoice number
- Invoice date and actual due date (not just “Net 15”)
- Line items: description, quantity, rate, total for each
- Subtotal, tax (if applicable), grand total
- Payment terms stated plainly
- Payment methods listed
- Late payment policy included
- PDF format, not an editable Word doc
- Sent within 24 hours of delivering the work
Related reading
- Invoice for services rendered template — complete template and format guide
- How to write an invoice email — email templates for every scenario
- Overdue invoice reminder email templates — what to send when payment is late
Ready to send stronger proposals?
Build, send, and track proposals in one place so follow-up is easier.
Start your free trial →